Tuesday, March 22, 2011

Tasty Tuesdays...How to Cook an Artichoke

.
Welcome to Tasty Tuesdays!
.
I'm cheating a little bit here and reposting a post of mine, originally posted February 1, 2010.
.
Growing up in an Italian family (I'm half Italian; hence my love for Italy & all things Italian) it was, and still is, very common for us to have artichokes as our vegetable with dinner - especially Sunday dinners.

.
Just for fun, here is a photo from a trip I took to Seattle in 2001 of artichokes growing on a farm:
.
.
In the United States, most artichokes you find in the grocery store come from Castroville, CA. They even have an Artichoke Festival there every year! You will find the best artichokes in season from March - May, but typically you can find them year round.
.
.
You will need:
.
- Fresh artichokes
- Olive oil
- Lemon juice
- Oregano
- Garlic flakes
- Salt
.
.
Step 1: Cut off the stem of the artichoke so that it will stand upright.
.
.
.
.
Step 2: Lay artichoke on side and cut off top 1.5" to 2" of leaves.
.
.
.Step 3: Using kitchen shears, cut off tips of all remaining leaves.
.
.
Your prepared artichoke will look like this:
.
.Step 4: Place artichoke in pan and fill with a couple of inches of water. Bottom third of artichoke should be immersed in water. You can cook as many artichokes as you can fit in one pan, with all artichokes standing upright.
.
.
Step 5: Drizzle olive oil and lemon juice over artichoke. I don't measure - just use an amount that seems good to you! Add oregano, garlic flakes, and salt to top of artichoke. Again, no need to measure. Just use a pinch for each artichoke you are cooking.
.
.
Step 6: Cover pot and simmer on med / high for 35 - 45 minutes. Check your pot a few times during cooking to make sure that there is still water. If the water has gotten too low, just add a little more.
.
Test artichoke by pulling off a leaf. If the leaf is easily pulled off, your artichoke is finished! Remove from pan and serve.
.
.
Eat artichoke, leaf by leaf, working from the outside in. At the very end you will get to a bunch of small fuzzy leaves. Scrape those off and you will be at the artichoke heart - this is the best part! Some people like to serve their artichokes with garlic butter or another  dip - I usually just use plain butter.
.
If anyone tries cooking an artichoke for the first time, I would love to know what you think!
.
.
Now it's your turn.  What do you cook this week?
.
.{ Please remember to add a link in your post back to Tasty Tuesdys or add the Tasty Tuesdays button to your post.  You will find the code on my sidebar.  Thanks! }
..
{ I've linked this post up to Permanent Posies and Funky Junk Interiors }


Tuesday, March 15, 2011

Tasty Tuesdays...Reese's Chewy Chocolate Cookies

.
These cookies are a family favorite.  My sister is the one who originally found the recipe - on the back of the Reese's chip package!  I don't know exactly when she found the recipe but I remember making them in college - so it's been a while!
.
.
Ingredients:
- 2 cups all-purpose flour
- 3/4 cup cocoa
- 1 teaspoon baking soda
- 1/2 teaspoon salt
- 1-1/4 cups butter, softened
- 2 cups sugar
- 2 eggs
- 2 teaspoons vanilla extract
- 1-2/3 cups (10 oz package) Reese's Peanut Butter Chips
.
.
{ cookies in progress... }
.
Directions:
1. Heat oven to 350°F. Stir together flour, cocoa, baking soda and salt; set aside.
.
2.  Beat butter and sugar in large bowl with mixer until fluffy. Add eggs and vanilla; beat well. Gradually add flour mixture, beating well. Stir in peanut butter chips. Drop by rounded teaspoons onto ungreased cookie sheet. { The recipe says teaspoons, but mine are usually the size of tablespoons }
.
.
.
3.  Bake 8 to 9 minutes. (Do not overbake; cookies will be soft. They will puff while baking and flatten while cooling.) Cool slightly; remove from cookie sheet to wire rack. Cool completely. About 4-1/2 dozen cookies.
.
.I've never tried the pan recipe, but it sure sounds good:
PAN RECIPE: Spread batter in greased 15-1/2x10-1/2x1-inch jelly-roll pan. Bake at 350°F 20 minutes or until set. Cool completely in pan on wire rack; cut into bars. About 4 dozen bars.
.
.
Now it's your turn.  What did you cook this week?
.
{ Please remember to add a link in your post back to Tasty Tuesdays or add the Tasty Tuesdays button which can be found on my side bar.  Thanks! }
.


Saturday, March 12, 2011

Off to the Desert...

.
I'm heading out to Arizona for vacation today.  World's Cutest Brother is on Spring Break so we'll get to spend lots of time together.  There are only three things I'm planning on doing - soaking up the sun, reading, and playing golf.  The thought of warm weather is so exciting.  Flip-flops, short sleeves, swimming?  Yes, please!  I am not bringing my computer - it will be nice to unplug for a bit.  Tasty Tuesdays is all ready to post on Tuesday so you can still link up!
.
..................................................................

Also, CSN Stores has once again offered me the opportunity to review one of their products. CSN Stores has just about everything you you could ever need for your home - everything from home office furniture to patio furniture to kitchen cookware.   Thank you CSN Stores - I can't wait to pick something out!
.
See you in 10 days!
..

Thursday, March 10, 2011

Guest Posting Today at Remodelaholic

.
Hi guys, I'm guest posting today at Remodelaholic.  You can see my guest post right here.  Thank you Cassity for having me back today!
........................................................
.
Thanks to everyone who has been linking up to Tasty Tuesdays.  I'm sorry I haven't been around to visit many of you.  Work has been crazy busy and I had to travel out of town this week.  I really appreciate everyone who links up and takes the time to leave a nice comment - you guys are the best!  Hope you all are having a great week!
.
.


Tuesday, March 8, 2011

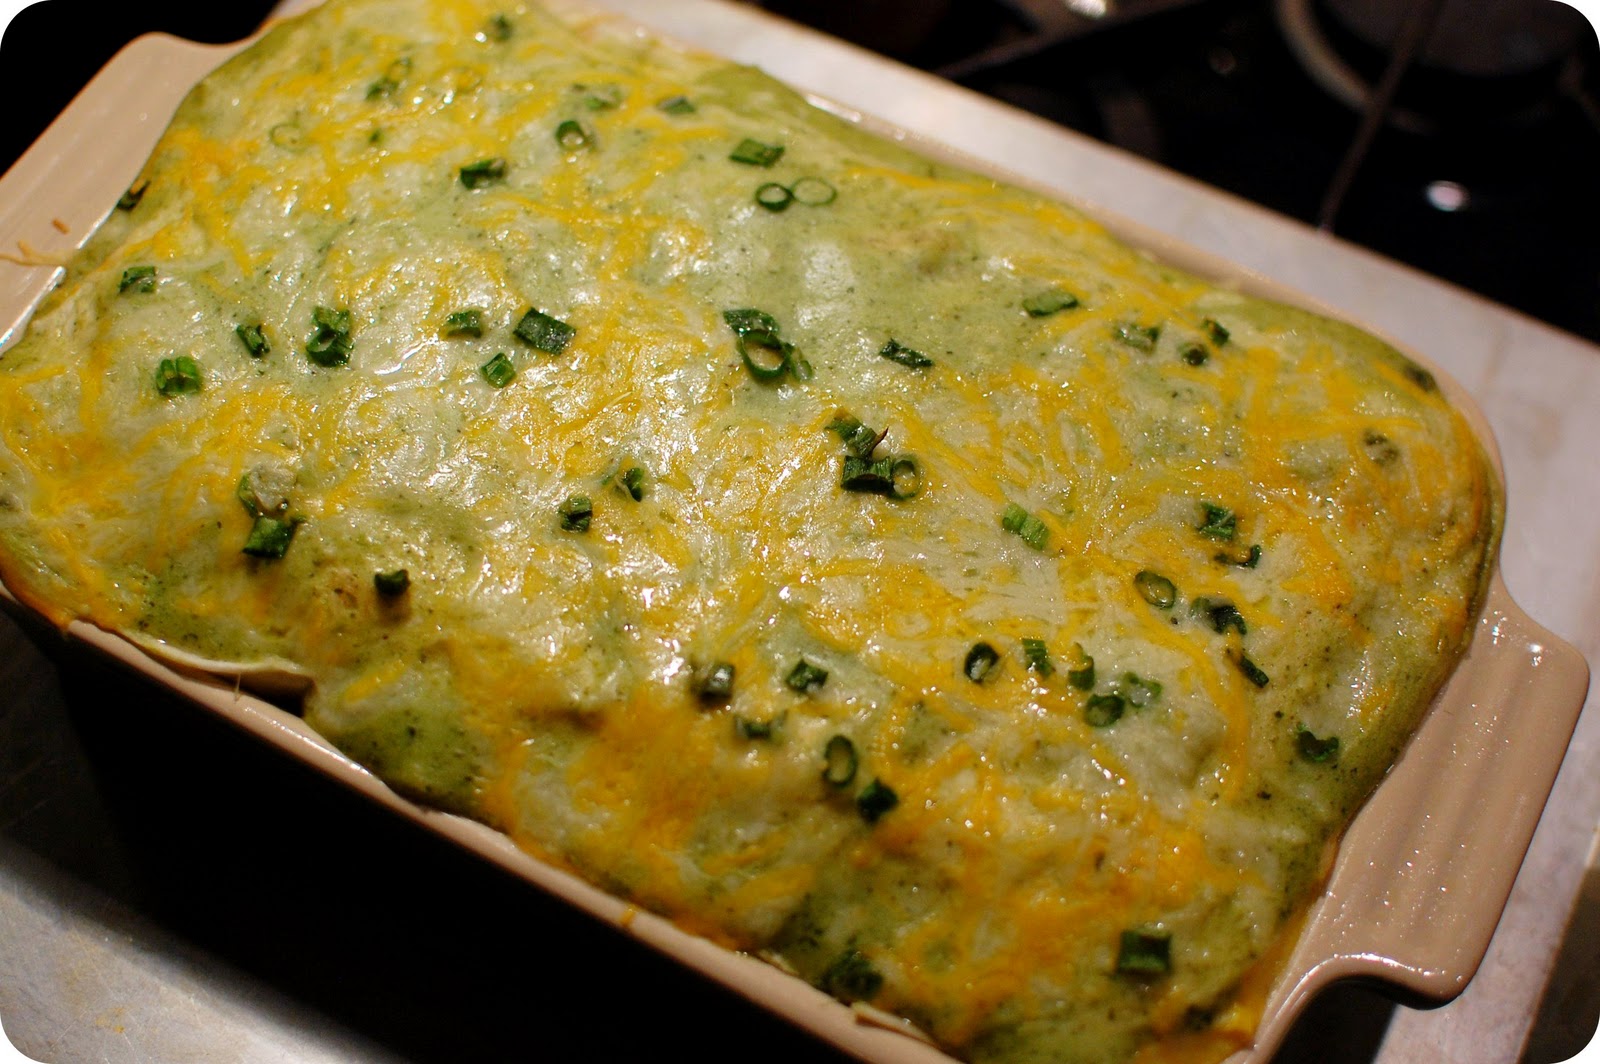
Tasty Tuesdays...Chicken Poblano Casserole

.
Welcome to Tasty Tuesdays!
.
This week I made a recipe I've had torn out of Cooking Light magazine for a while - Chicken Poblano Casserole.  You can find original recipe right here.
.
I will say that this recipe was a lot more involved than I originally thought.  I guess I didn't read the recipe too thoroughly before starting - if I had I'm not sure I would have made this!  It was good but not exceptional.  I actually enjoyed the leftovers more than I did the night I made it.
.
.
Ingredients:
- 3 poblano chiles (about 12 ounces)
- 1 large red bell pepper (about 8 ounces)
- 3 ears shucked corn (I used frozen and it worked just fine)
- 1/3 cup all-purpose flour
- 1 teaspoon salt, divided
- 1/4 teaspoon freshly ground black pepper
- 3 1/2 cups 1% low-fat milk
- 3 cups (12 ounces) pre-shredded reduced-fat 4-cheese Mexican blend cheese, divided
- 1/3 cup chopped red onion
- 1/3 cup chopped fresh cilantro
- 2 large eggs, lightly beaten
- 1 (15-ounce) carton part-skim ricotta cheese
- Cooking spray
- 18 (6-inch) white corn tortillas (I used flour because I already had some on hand)
- 3 3/4 cups chopped cooked chicken breast
- 1 cup thinly sliced green onions, divided
.
1.  Preheat broiler.
.

2.  Cut poblanos and bell pepper in half lengthwise; discard seeds and membranes. Place poblanos and bell pepper, skin sides up, on a foil-lined baking sheet; flatten with hand. Place corn on baking sheet. Broil 10 minutes or until poblanos and bell pepper are blackened and corn is lightly browned. Place poblanos and bell pepper in a zip-top plastic bag; seal. Let stand 10 minutes. Peel and coarsely chop; set poblanos and bell pepper aside separately. Remove corn kernels from cobs.
.
.
3.  Lightly spoon flour into a dry measuring cup; level with a knife. Place flour, 1/2 teaspoon salt, and black pepper in a large saucepan. Gradually add milk, stirring with a whisk. Cook over medium heat until slightly thick (about 12 minutes), stirring constantly. Remove from heat. Combine 1 cup milk mixture and poblanos in a blender; process until smooth. Stir pureed poblano mixture into remaining milk mixture.
.
.
.4.  Preheat oven to 350°.
.
5.  Combine bell pepper, corn, remaining 1/2 teaspoon salt, 1 cup Mexican cheese, red onion, cilantro, eggs, and ricotta.
.
6.  Coat bottom of a 13 x 9-inch baking dish with cooking spray. Spread 1/2 cup sauce in bottom of dish. Arrange 6 tortillas over sauce, overlapping slightly. Spread half of ricotta mixture over tortillas; top with half of chicken. Sprinkle with 1/3 cup green onions and 2/3 cup Mexican cheese. Pour about 1 cup sauce over cheese. Repeat layers with 6 tortillas, remaining ricotta mixture, remaining chicken, 1/3 cup green onions, 2/3 cup Mexican cheese, 1 cup sauce, and 6 tortillas. Pour remaining sauce over tortillas. Coat 1 side of foil with cooking spray. Place foil, coated side down, over casserole. Bake at 350° for 30 minutes or until bubbly.
.
7.  Uncover; sprinkle with remaining 2/3 cup Mexican cheese and 1/3 cup green onions. Bake, uncovered, 15 minutes or until cheese melts. Let stand 15 minutes.
.
.
I also made some guacamole to serve along with this.  Yum!
.
.
.
Now it's your turn to link up what you cooked this week.
.
{ Please remember to add a link in your post back to Tasty Tuesdays or add the Tasty Tuesdays button which can be found on my sidebar.  Thanks! }
.


Friday, March 4, 2011

Still Winter...

.
I don't have many projects going on around here so I thought I would share a few photos I took during a winter storm two weeks ago.
.
.
Our snow was all gone, the ground was bare and spring was in the air.  And then, we had a winter storm that brought with it 8 inches of snow in a matter of hours.
.
.
My sister was home for the weekend {that's her in the photo above taking a picture} and we decided to go take a walk in the snow.  It was dusk, so all my photos are a little dark.
.
.
.
.
.
.
.
.
.
.
.
.
Not even a winter storm was going to stop me from enjoying my first Shamrock Shake of the year.  And we had to go to two McDonald's...the shake machine apparently was broken at the first one!
.
.
{ I should be embarrassed that I ordered the larger one, but I'm not! }
.
Here's to hoping that spring is right around the corner.  Have a wonderful weekend!
.

Tuesday, March 1, 2011

Tasty Tuesdays...Orecchiette with Kale

.
Welcome to Tasty Tuesdays!
.
Well, after two weeks in a row of posting beef recipes, I am getting back to what I truly love - pasta!  Pasta is, hands down my favorite meal.  I would be perfectly content to eat pasta every single day.  This recipe is from the December 2010 issue of Cooking Light.  Click here for the original recipe.
.
.
Ingredients:

- 8 ounces uncooked orecchiette pasta
- 5 kale, washed and torn into pieces { I used red kale }
- 2 slices center-cut bacon
- 1/2 cup oil-packed sun-dried tomatoes, drained and roughly chopped {I used the sun dried tomatoes I made here}
- 1/2 teaspoon crushed red pepper
- 3 large garlic cloves, chopped
- 1/2 teaspoon freshly ground black pepper
- 3/8 teaspoon salt
- 1 ounce Parmigiano-Reggiano cheese, shaved
- 2 tablespoons fresh lemon juice
.
1. Cook pasta in boiling water 8 minutes or until almost tender. Add kale, and cook 2 minutes. Drain pasta, reserving 1/2 cup cooking liquid.
.

2. While pasta cooks, cook bacon in a large skillet over medium-high heat 4 minutes or until crisp. Remove bacon from pan with a slotted spoon; crumble and set aside. Reduce heat to medium-low. Add sun-dried tomatoes, crushed red pepper, and garlic to drippings in pan; cook 1 minute, stirring frequently. Add pasta and kale, reserved 1/2 cup cooking liquid, black pepper, and salt to pan; toss to combine. Add bacon and lemon juice.  Stir to combine.  Top with freshly grated cheese and a dash of olive oil (optional).
.
Although this wasn't the best pasta dish I have ever made, I still enjoyed it.  If I make it again I will leave out the red pepper flakes or add a smaller amount - my mouth was on fire!
.
.
.
Now it's you turn.  What did you cook this week?
.
{ Please remember to add a link in your post back to Tasty Tuesdays or the Tasty Tuesdays button which can be found on my sidebar - thanks! }
.


© 2009-2014 33 Shades of Green. All Rights Reserved. | Blog Design By Brittany Douglas

09 10