Thursday, July 15, 2010

Making Hypertufa Pots


*Today I am sharing my guest post that was posted last week over at Remodelaholic.
.
I made these hypertufa pots after seeing this article in the March 2010 issue of Martha Stewart Living Magazine.  My Mom and I made hypertufa pots a few years ago using a similar method.  They were larger than these and not quite as cool!  When I saw this article I knew I had to try again.  It's actually a pretty easy project.
.
.
Supplies you will need:
- Various containers.  You can use almost anything but I collected plastic and cardboard containers.  I also used metal but it didn't work for me (more on that later!).
- Peat Moss
- Perlite
- Portland Cement
- Mold Release Spray (I ended up using a no-stick cooking spray after researching online.)
.
.
.
.
The perlite, portland cement, and peat moss are all readily available at Home Depot or Lowes.  Make sure that you use real portland cement and not a quick-set material.  Also, you want to use peat moss that is finely ground and not in large pieces.
.
.
In order to make your mold you will need to nest two containers together.  Both should have sides that are straight or taper out and make sure that there is a gap of at least 3/4 between them.
.
Mix together equal parts perlite, peat moss and portland cement in a large container.  The amount you use of each does not matter as long as they are equal parts.  I used 2 quarts of each.  A wheelbarrow would be great to use for mixing, but I don't have one so I used an old rubbermaid container.
.
Make sure you wear gloves!
.
.
Slowly begin to add water and mix until mixture is the consistency of cottage cheese.
.
.
Coat containers with mold release spray.  Pour mixture into the outer mold until it is an inch thick.  Add the inner container and start adding mixture around all the sides.  You can fill the inner mold with sand or water to steady it.  Pack mixture in tightly.
.
.
This is what my containers looked like after I had added the mixture.
.
Cover the containers with plastic.  After 24 hours remove the inner mold.  Replace plastic.  After 36 hours remove outer mold.  This is where I had a little trouble.  I was able to easily remove the plastic and cardboard containers.  But the one metal container I used would not come off.  I guess I should have followed directions and used mold release spray.  Stick with cardboard and plastic and you won't have any trouble!
.
After removing molds, you can drill holes using a masonry bit in the bottom of the container for drainage.  Also, use a planer file or sand paper to smooth out any rough edges.
.
Recover containers with plastic and let sit for several weeks in order to finish curing.
.
Finally, your pots will be finished!
.
.
Aren't they cool?

..
I planted with succulents and placed the pots in my screen porch.
.


I am just thrilled with these little pots.  I love how they turned out!
.

Tuesday, July 13, 2010

Giveaway @ A New Chapter

My good friend Amy is having a giveaway on her blog for the newest Emily Giffin book, 'Heart of the Matter'.  Amy was lucky enough to win a trip to Atlanta this spring to meet Emily and attend a launch party for the book.  How cool is that?!  Amy and I are in a book club with a few of our other friends and we all LOVE Emily's books.  I can't wait to read her new one!
.
.
For your chance to win click right here. While you are there, check out Amy's blog.  She is an amazing cook and her blog is filled with lots of great recipes.  Everything she posts goes on my list to make!

Sunday, July 11, 2010

Container Gardening

.
Container gardening is so much fun.  Every year I plant lots of pots and have fun coming up with different combinations of plants.
.
First up is a concrete planter I plant at my Dad's house every year. 
.
Here's how it looked when I planted it mid May:
.
.
And now:
.
.
What a difference two months makes!  We actually joke every year that it's the "pot on steroids" because no matter what I plant it always goes crazy.  I think the container must be in a perfect location and gets just the right amount of sun.
.
.
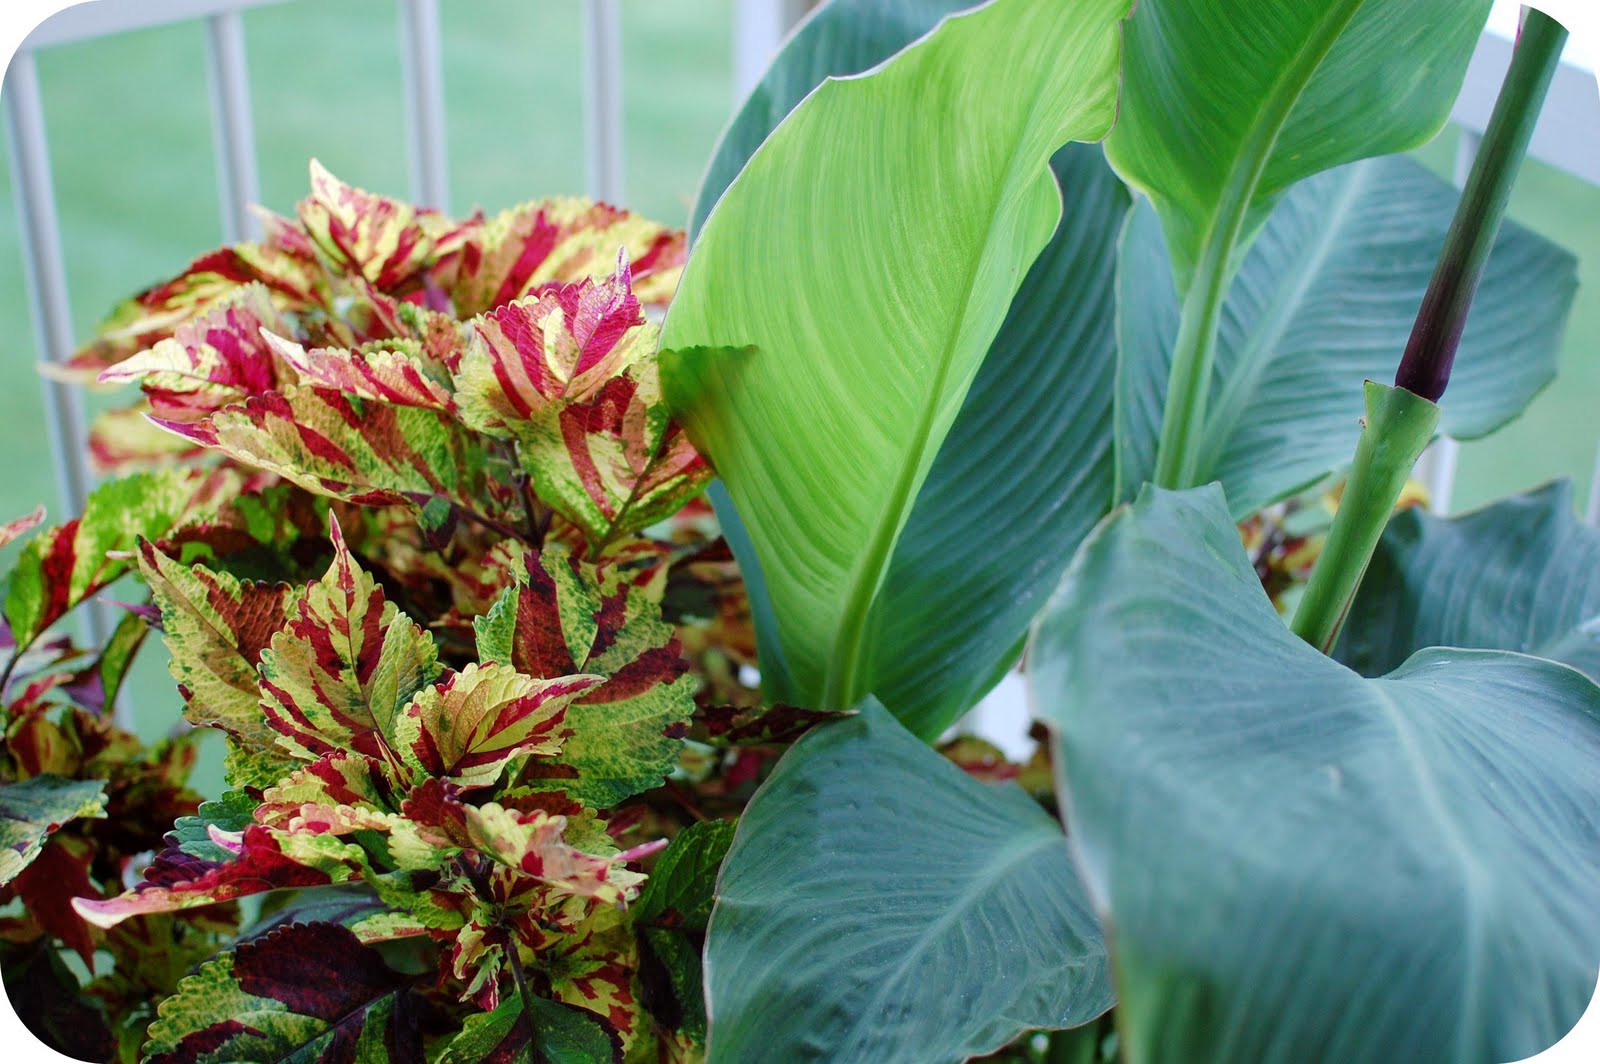
The container is planted with two canna lilies, various coleus, and two varieties of sweet potato vine.
.
.
Now, back to my house.  I have this container sitting on a ledge on my front porch.  I usually plant a similar combination here every year - coleus in the center, impatiens on either side, and creeping jenny to trail down the front.
.
.
The next containers are all back in my screen porch.  I get a good amount of sun in the porch so most things grow pretty well.
.
These planters are similar to the one at my Dad's.
.
.
They are planted with canna lilies, coleus, and sweet potato vine.  Can you tell these are my favorite plants?  They are easy to grow and I love how lush and tropical they look.
.
.
Of course, my Dad's canna has been blooming for weeks now and mine just started!
.
.
.
.
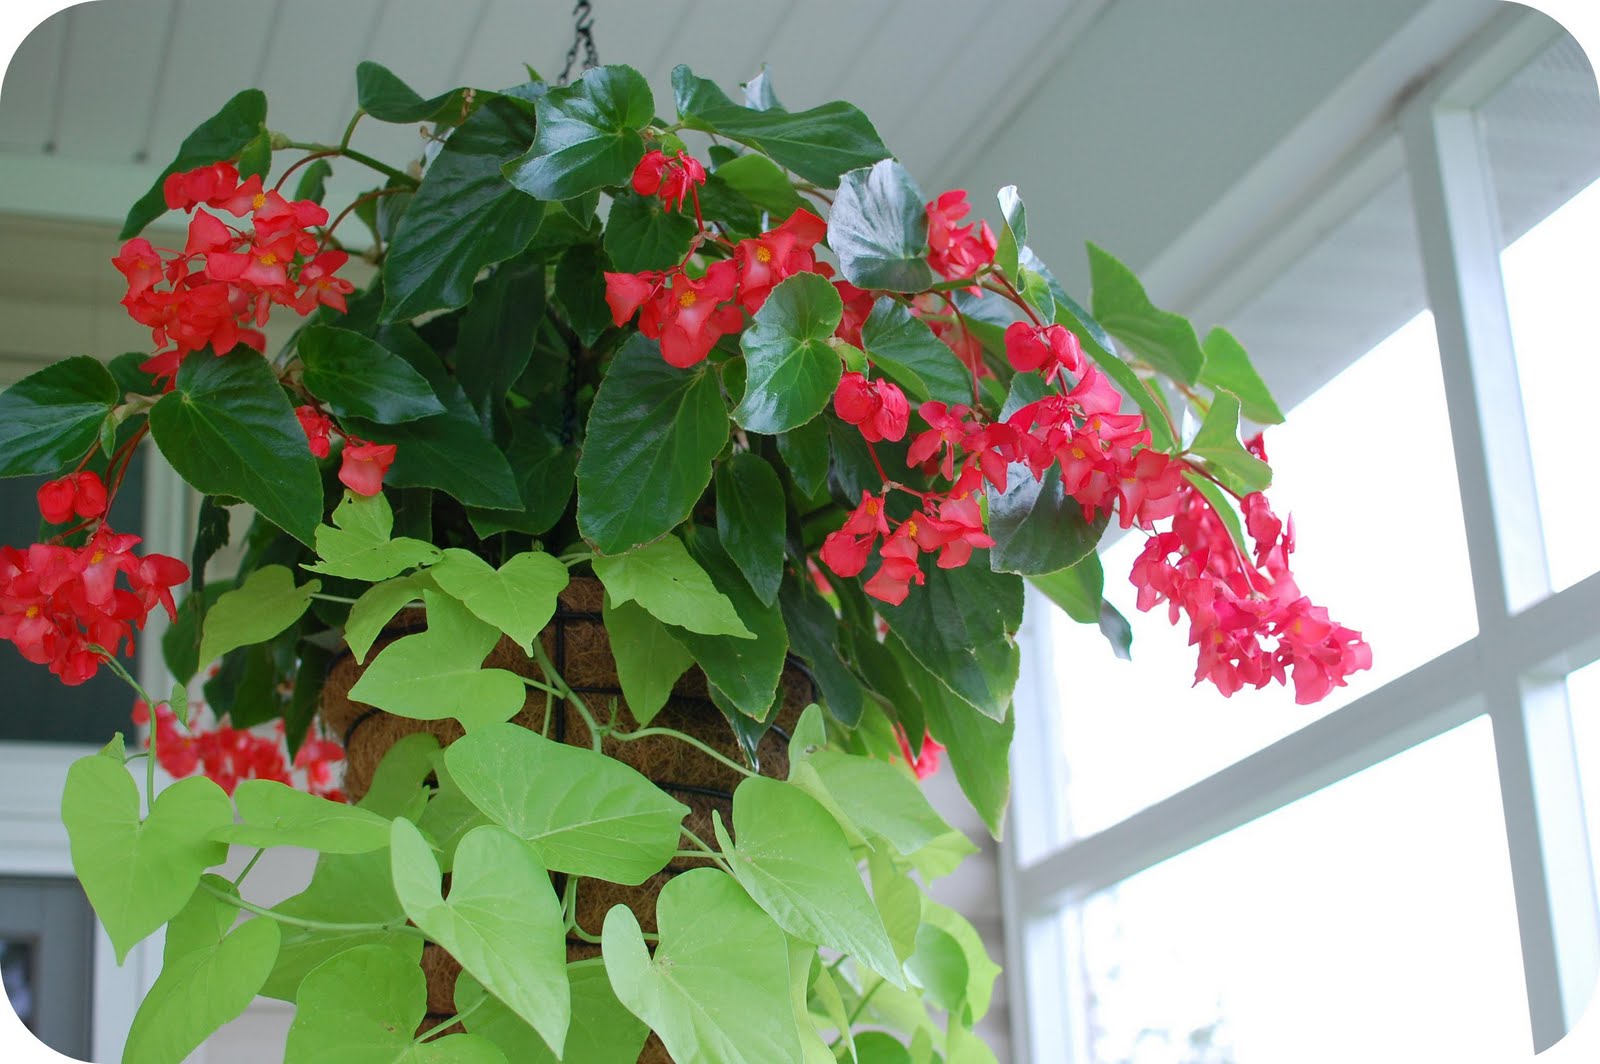
I planted this hanging basket with angel wing begonias and more sweet potato vine.
.
.
.
.
.
Last up is a container on the other side of my screen porch planted again with different varieties of coleus and creeping jenny.
.
.
I just love all the different color combinations in coleus.
.
.
.
My other containers are also doing well.  I have more basil then I know what to do with, and my two tomato plants are out of control.  I haven't picked my first tomato yet, but the plants are loaded with probably hundreds of tomatoes!  Lots of caprese salads are in my future.
.
I've linked up to: Show off Your Cottage Monday @ The House in the Roses, Market Yourself Monday @ Sumo's Sweet Stuff,.Make it Yours Day @ My Backyard Eden, Outdoor Wednesday @ A Southern Daydreamer,  Creative Share Blog Hop @ Trendy Trrehouse.

Friday, July 9, 2010

Summer Tastes Like. . .Pesto

.
Pesto is such a wonderful, easy meal to make in the summer.  Cooking is minimal and pesto only requires 5 ingredients!
.
Pesto is so simple, you don't really even need a recipe, but just to make sure I got the measurements right I followed Mark Bittman's recipe from one of my favorite cookbooks.
.
.
Basic Pesto - Ingredients:
- 2 loosely packed cups fresh basil leaves, big stems discarded, rinsed and dried
- Salt to taste
- 1/2 to 2 cloves garlic, crushed
- 2 tablespoons pine nuts or walnuts, lightly toasted in a dry skillet or in the oven on a cookie sheet
- 1/2 cup extra-virgin olive oil, or more
- 1/2 cup freshly grated Parmesan or other hard cheese
- cooked pasta
.
.
Basil is the star ingredient in pesto, so make sure you use the freshest basil you can find.  I have lots of basil growing in pots on my deck so basil has been showing up in lots of summer meals lately.
.
.
1.  Combine the basil, salt, garlic, nuts, and about half the oil in a food processor or blender.
.
.
2.  Process, stopping to scrape down the sides of the container occasionally, and adding the rest of the oil gradually.  Add additional oil if you prefer a thinner mixture. 
.
.
When finished, the pesto will look like this:
.
.
Toss with freshly cooked pasta, top with additional nuts and grated cheese, and enjoy!
.
Pesto can be stored in the refrigerator for up to two weeks, or in the freezer for several months.
.


.
I've linked up to Tasty Tuesdays @ A Beautiful Mess.

Thursday, July 8, 2010

Guest Posting Today @ Remodelaholic

.
I am guest posting today @ Remodelaholic.  Head on over there to check out a brand new project I made recently.  You will find my guest post right here.  Thank you Cassity for having me!
.
If you are stopping over from Remodelaholic, thanks for visitng! 
.
.
It seems that summer has turned me into a bad blogger.  I have lots of projects in the works and hope to get back to more regular posting next week!
.

Thursday, July 1, 2010

You Capture: Green

.
The challenge this week for You Capture had three different options.  One of the choices was GREEN.  It should come as no surprise that I chose green!
.
Last weekend my Dad, World's Cutest Brother, and I went to Chicago to visit Baby Sister.  After dinner on Sunday night we went to the Trump for drinks on their roof deck (called The Terrace at Trump).  Baby Sister and I love going to their bar, Rebar for drinks, but I had never been to the Terrace.  The views from the terrace are beautiful.  And there are beautiful planters with succulents.  Lots of beautiful green to photograph.
.

.
.
.
.
I know there isn't green in these next few photos, but check out the view from the terrace.
.
.
The Wrigley Building and Tribune Tower:
.
.
And a few views of the Trump:
.
.
.
Isn't it a beautiful building?  For some reason, I just love it.  And at 92 stories tall it is hard to miss from most spots in the city.
.
Check out all the great You Capture Links over at I should be Folding Laundry.
.
Photobucket
.
I am also participating today in New Friend Fridays with The Girl Creative and Trendy Treehouse.
.

New Friend Fridays
 

© 2009-2014 33 Shades of Green. All Rights Reserved. | Blog Design By Brittany Douglas

09 10